Shopify页面设计之支付图标

昨天在群上看到有小伙伴在问如何在页尾追加支付信任图标,刚好在前阵子做过相关的优化,这里拿出来和大家分享一下。

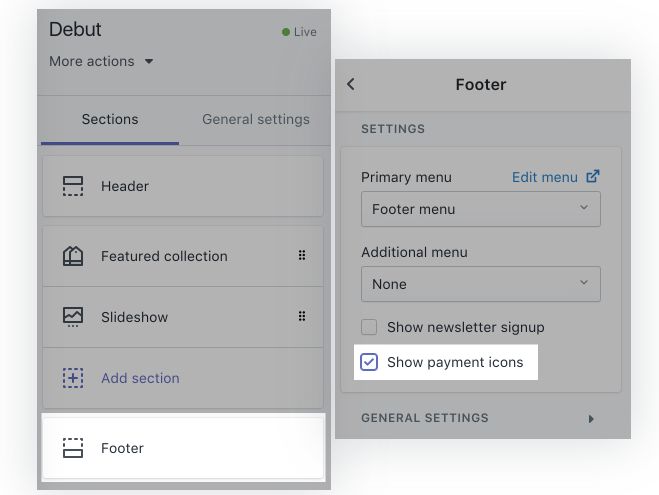
先检查一下Theme中的Footer Section是否自带Show payment icons选项,如果有则直接勾起,不用再往下看了。

还是看看吧~接下来小学徒讲解如何根据自(ye)己(wu)的(yuan)需求显示特定的支付图标。
效果像这样的,方便业务运营们自己设置~

先了解一下可供选择的支付选项:
american_express,apple_pay,bitcoin,dankort,diners_club,discover,dogecoin,dwolla,forbrugsforeningen,google_pay,jcb,klarna,klarna-pay-later,litecoin,maestro,master,paypal,shopify_pay,sofort,visa
进入Edit code模式
打开Sections目录下的footer.liquid文件。
在选定位置加入以下代码
class="payment-wrapper">
class="payment-list">
{% assign enabled_payment_types = section.settings.payment_way | remove: ' ' | split: ',' %}
{% for type in enabled_payment_types %}
class="payment-icon">
{{ type | payment_type_svg_tag: class: 'icon icon--full-color' }}
{% endfor %}
找到 {% schema %},在其上方追加以下样式代码
<style type="text/css">
.payment-wrapper{display: inline-block;float: right;}
.payment-list{display:flex; flex-wrap:wrap;justify-content:center;}
.payment-list .payment-icon > svg{width:55px;}
</style>
接下来在footer.liquid页尾的
{% schema %}
{
"settings": [
{
"type":"...",
"*****":"..."
},
...
{
"type":"...",
"*****":"..."
}
]
}
{% endschema %}
在[ ]中追加以下代码
{
"type": "text",
"id": "payment_way",
"label": "Payment way",
"default": "american_express,apple_pay,paypal,visa,master,shopify_pay",
"info":"The values that you can use are listed below: american_express,apple_pay,bitcoin,dankort,diners_club,discover,dogecoin,dwolla,forbrugsforeningen,google_pay,jcb,klarna,klarna-pay-later,litecoin,maestro,master,paypal,shopify_pay,sofort,visa"
},
保存,完毕。
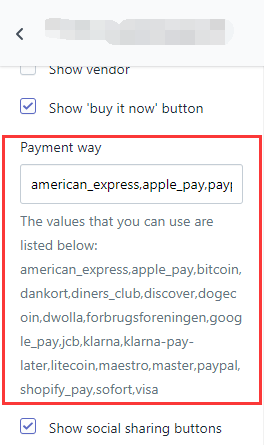
后台显示效果下

选择相应的支付方式并于英文逗号隔开填入文本框中保存即可。
没有评论:
发表评论